NHC MOTORS / Repair cases / Mulsanne Speed · 2023
BENTLEY · 2023 MAINTENANCE
Bentley Mulsanne Speed · First Maintenance in 2023
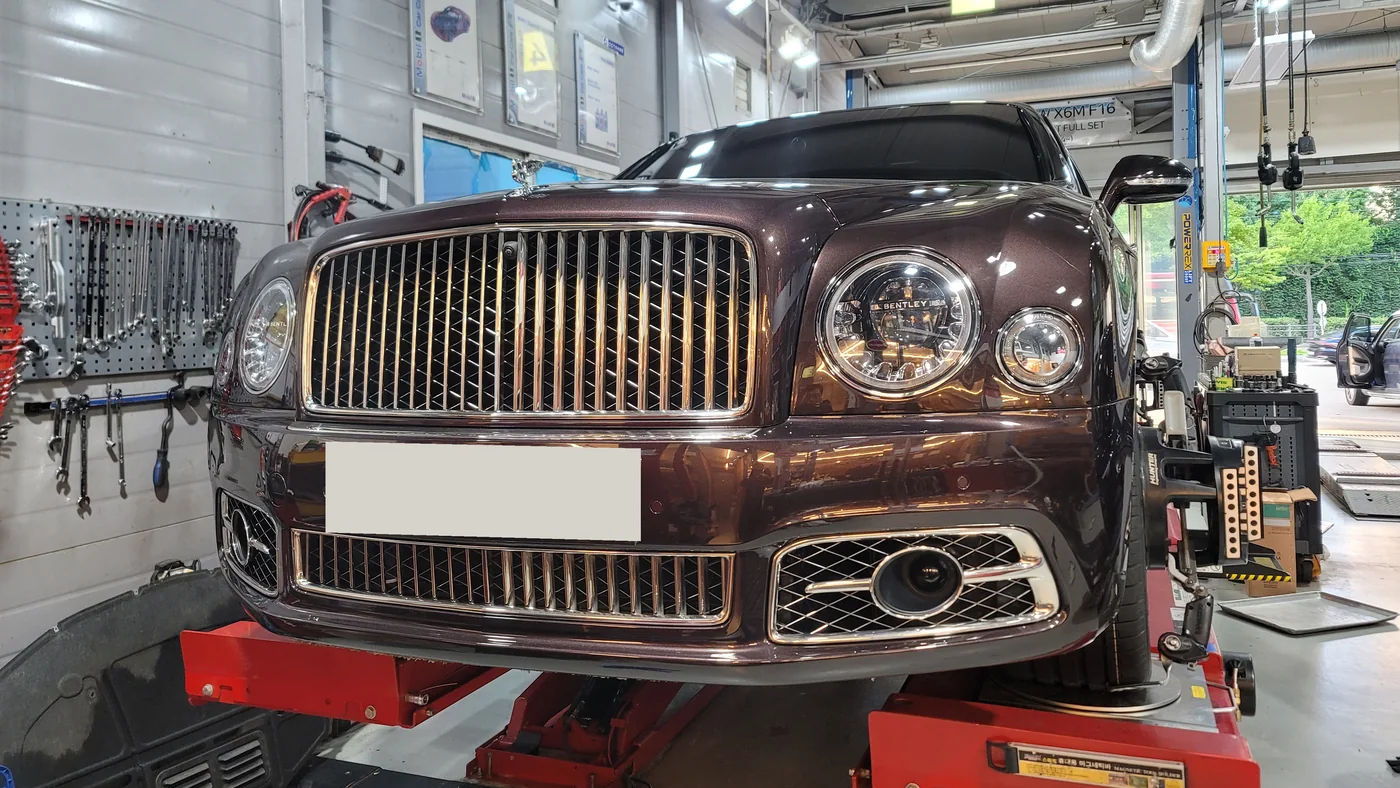
A long-standing customer referred a family member’s 2018 Bentley Mulsanne Speed to NHC. In August 2023, we changed the main oils, brake fluid and tyres, then balanced the wheels and adjusted the alignment. We also cleaned the inner wheels, compared drained fluid samples and completed a road test after the adjustments.
In this case
- Maintenance that starts with understanding the car
- Tyre replacement and Hofmann balancing
- The engine oil change
- 8-speed transmission oil change
- Power steering oil, exchanged 11 times
- Brake fluid change
- Rear differential oil
- Alignment measurement and adjustment
- Finishing up and the maintenance that follows
- Three workshop videos
- FAQ
01
Maintenance that starts with understanding the car
The Mulsanne was Bentley’s flagship saloon of its era. The Speed was its more driver-focused performance version, combining a 6.75-litre twin-turbo V8, an eight-speed ZF transmission, rear-wheel drive and air suspension.
On this visit we serviced the engine, transmission, steering and braking systems, along with the tyres and four-wheel alignment.
We fitted protective covers to keep the interior and paintwork from being marked during the work, then selected service mode.
02
Tyre replacement and Hofmann balancing
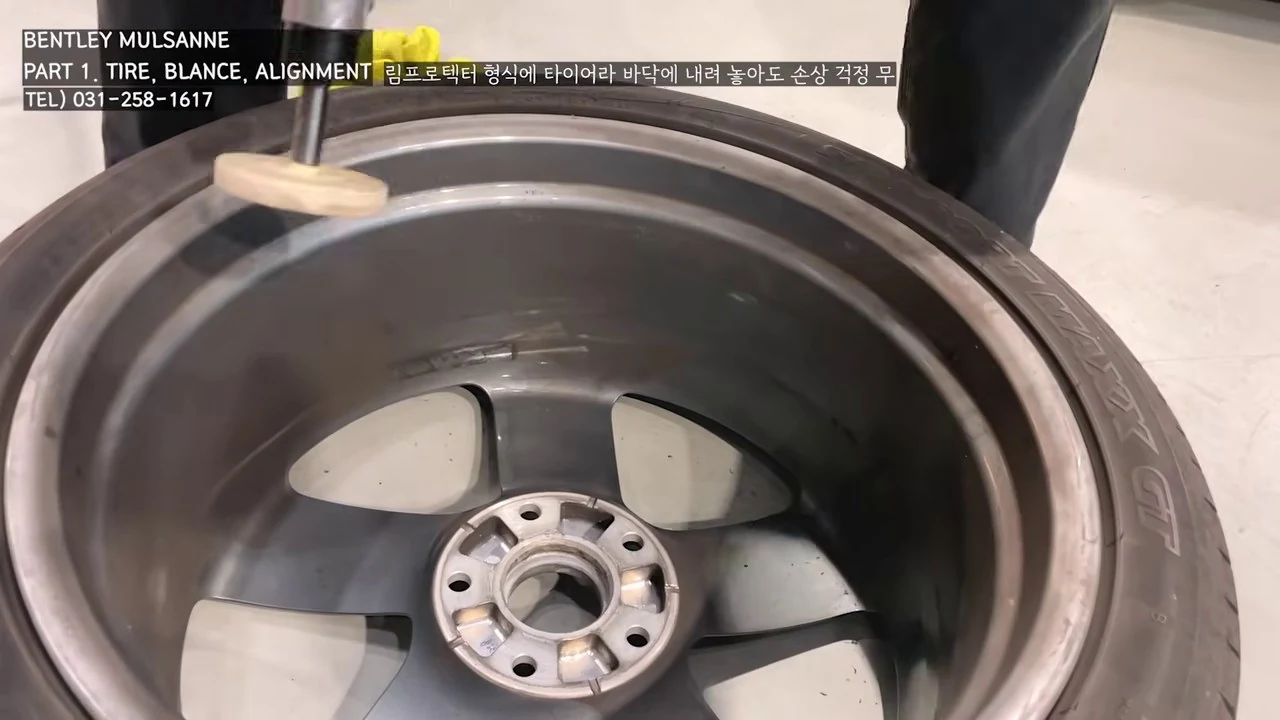
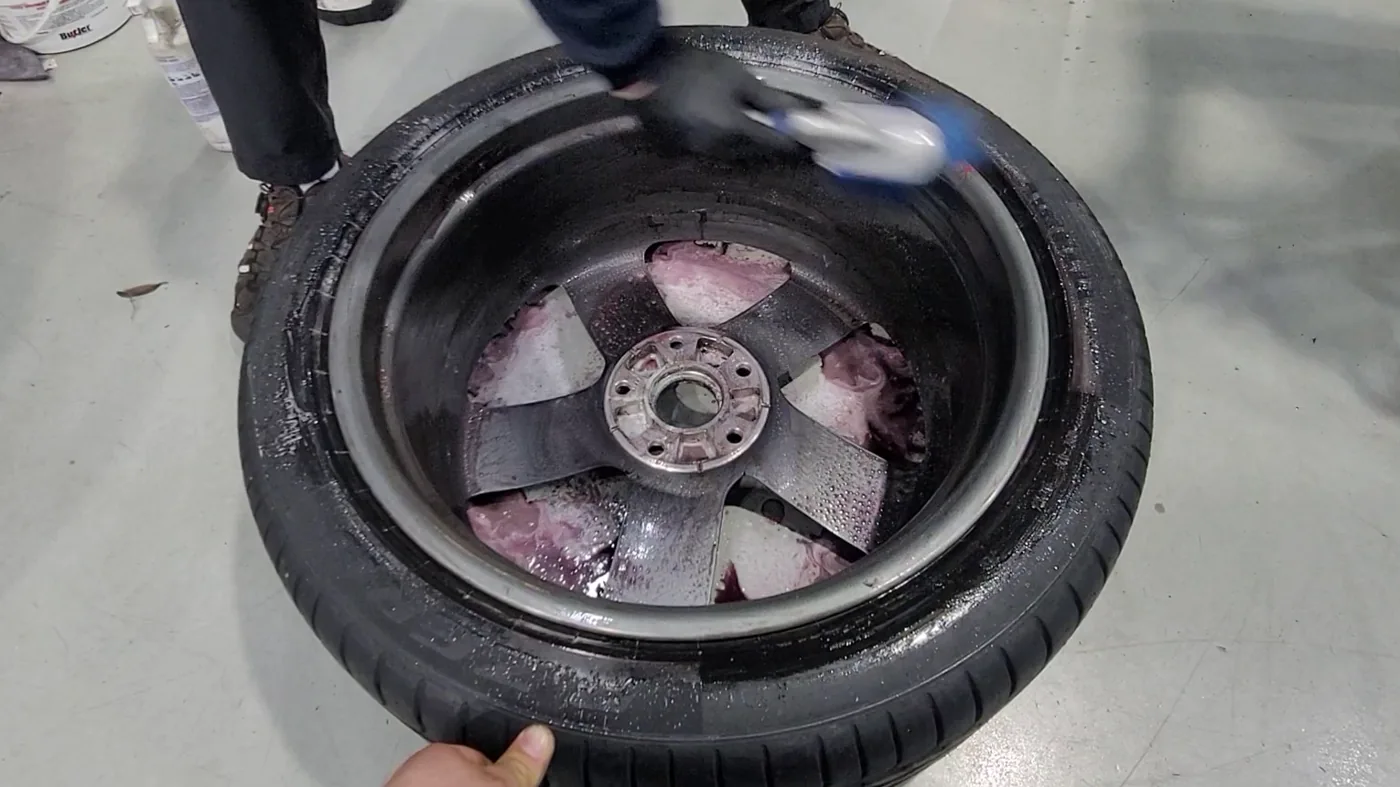
Both faces of each removed wheel were cleaned. We removed adhesive residue from the old balance weights, applied an iron-removal cleaner, steam-cleaned the surfaces and blew away the remaining water. The less visible inner barrel received the same attention.
For tyre removal and fitting, plastic protectors covered the machine’s wheel-contact points and lubricant was applied. We watched the contact points and working sequence to reduce the risk of marking the wheels.
With the new tyres fitted, we measured the balance on Hofmann equipment. We cleaned adhesive residue and debris from the weight mounting areas and dried them before fitting new weights.
03
The engine oil change
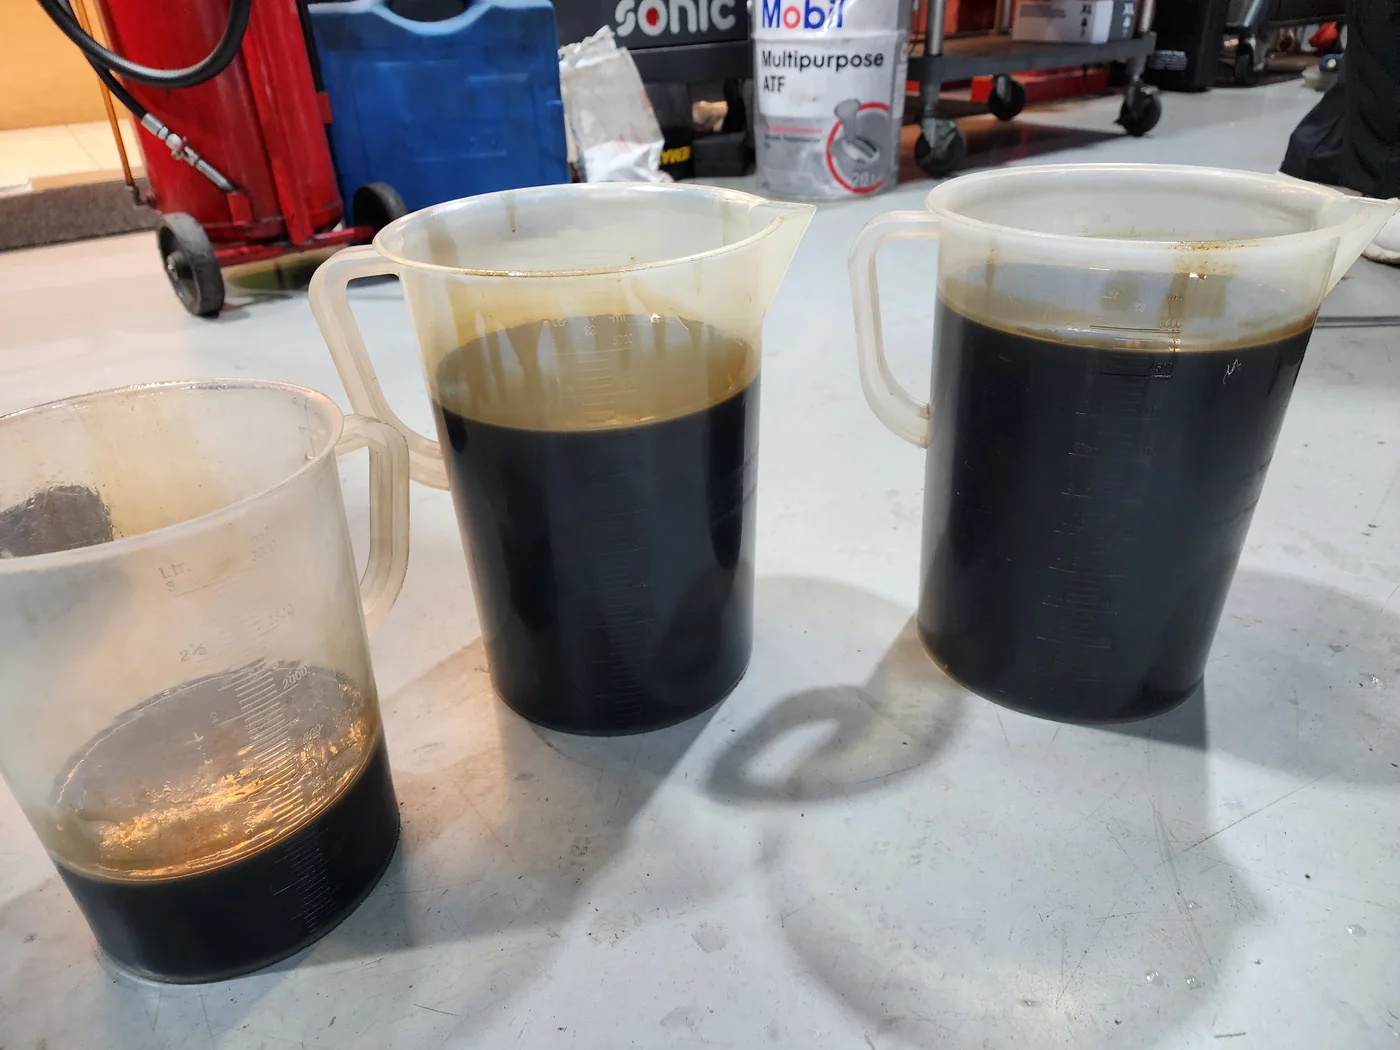
We collected the drained engine oil to check its condition and quantity, then removed the oil filter. We then passed synthetic oil through the engine and compared its appearance before and after in the containers.
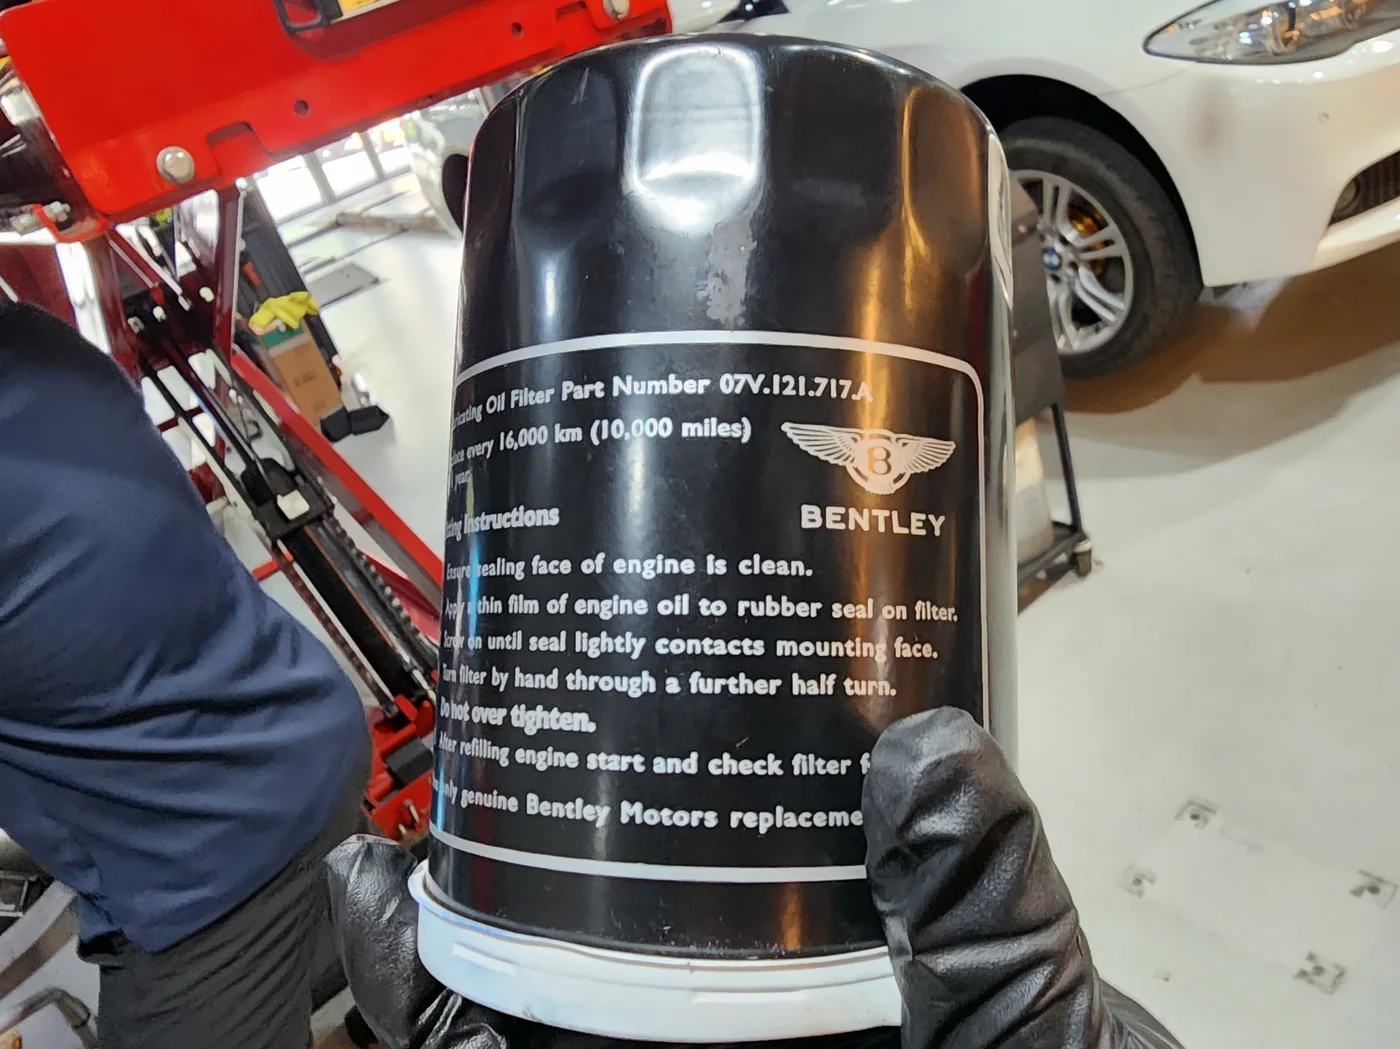
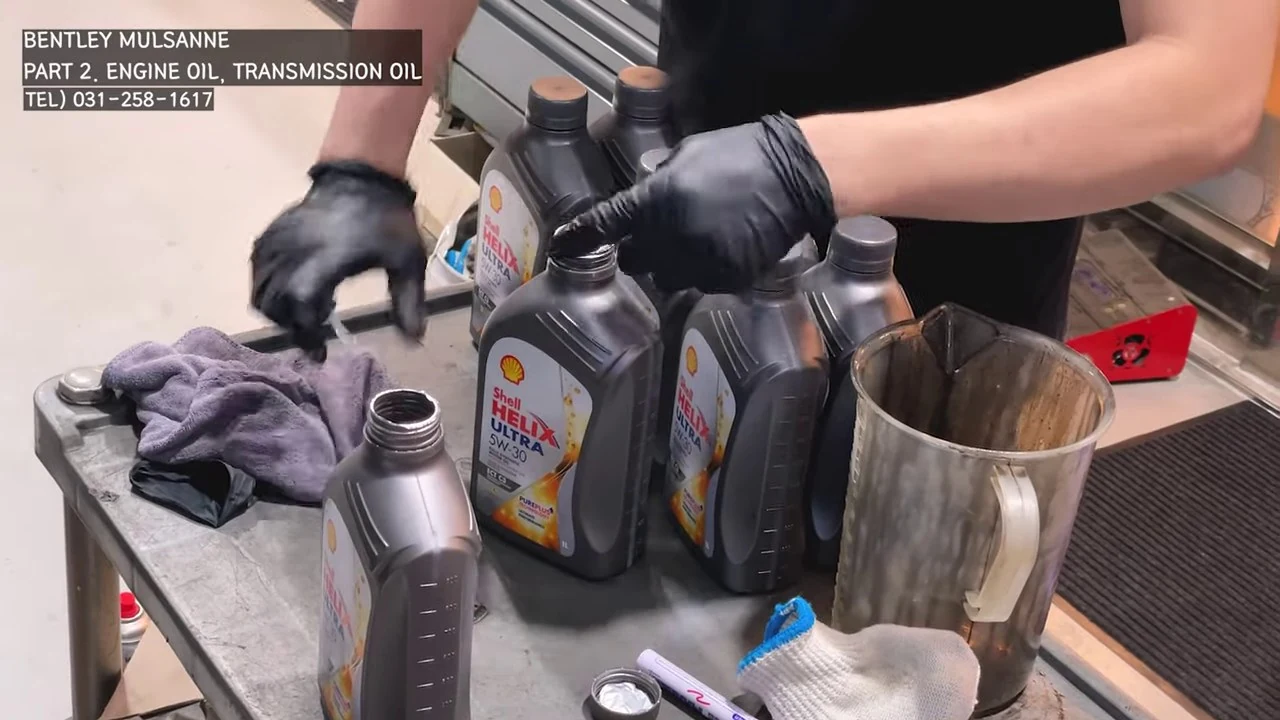
Remaining oil was drawn out by suction and a Bentley-marked filter was fitted. Shell Helix Ultra 5W-30 and BG MOA were used on this visit. The filter was secured and the oil level checked with the dipstick.
During an oil change, we also check the drained oil, filter and underbody and use their condition to guide the next inspection.
04
8-speed transmission oil change
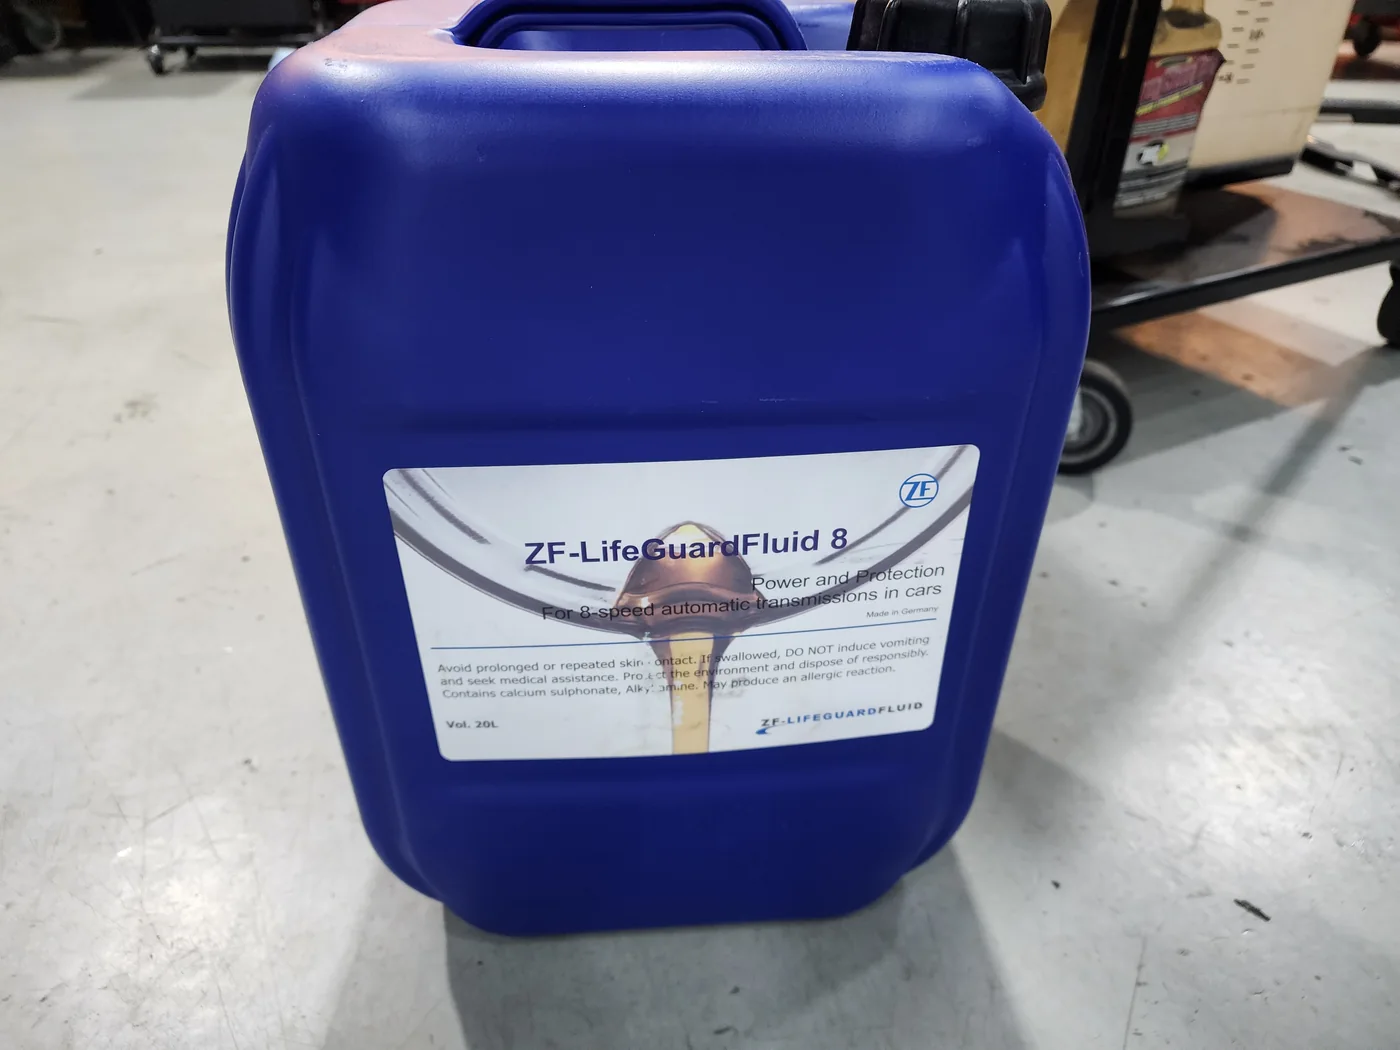
ZF LifeguardFluid 8 was used for the eight-speed ZF transmission. After checking the product identification, we connected the exchange equipment.
During the exchange, we moved through the gear positions from inside the car and watched the fresh fluid going in and the old fluid coming out at the machine.
05
Power steering oil, exchanged 11 times
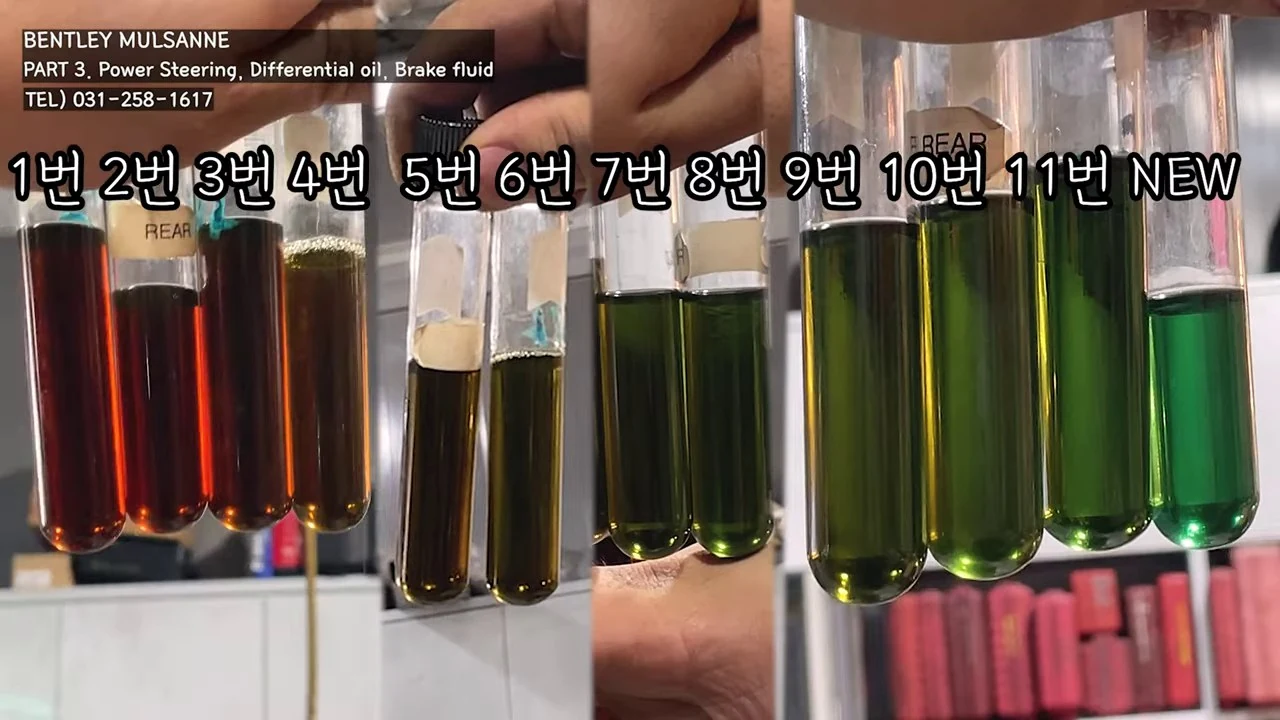
For the power steering system, fresh fluid was added, the steering moved left and right, and the fluid drained again. A sample was collected at each stage and the cycle was carried out eleven times.
We placed the eleven samples beside new fluid for comparison. The drained fluid changed from brown tones towards green as the exchange progressed.
The number of exchanges depends on the car’s condition. We carried out eleven on this visit and used the colour changes as a visual guide to the progress of the exchange.
06
Brake fluid change
The brake fluid reservoir had two sections divided by an internal partition. We attended to both sections, extracted the old fluid, then added and removed fresh fluid before continuing the exchange.
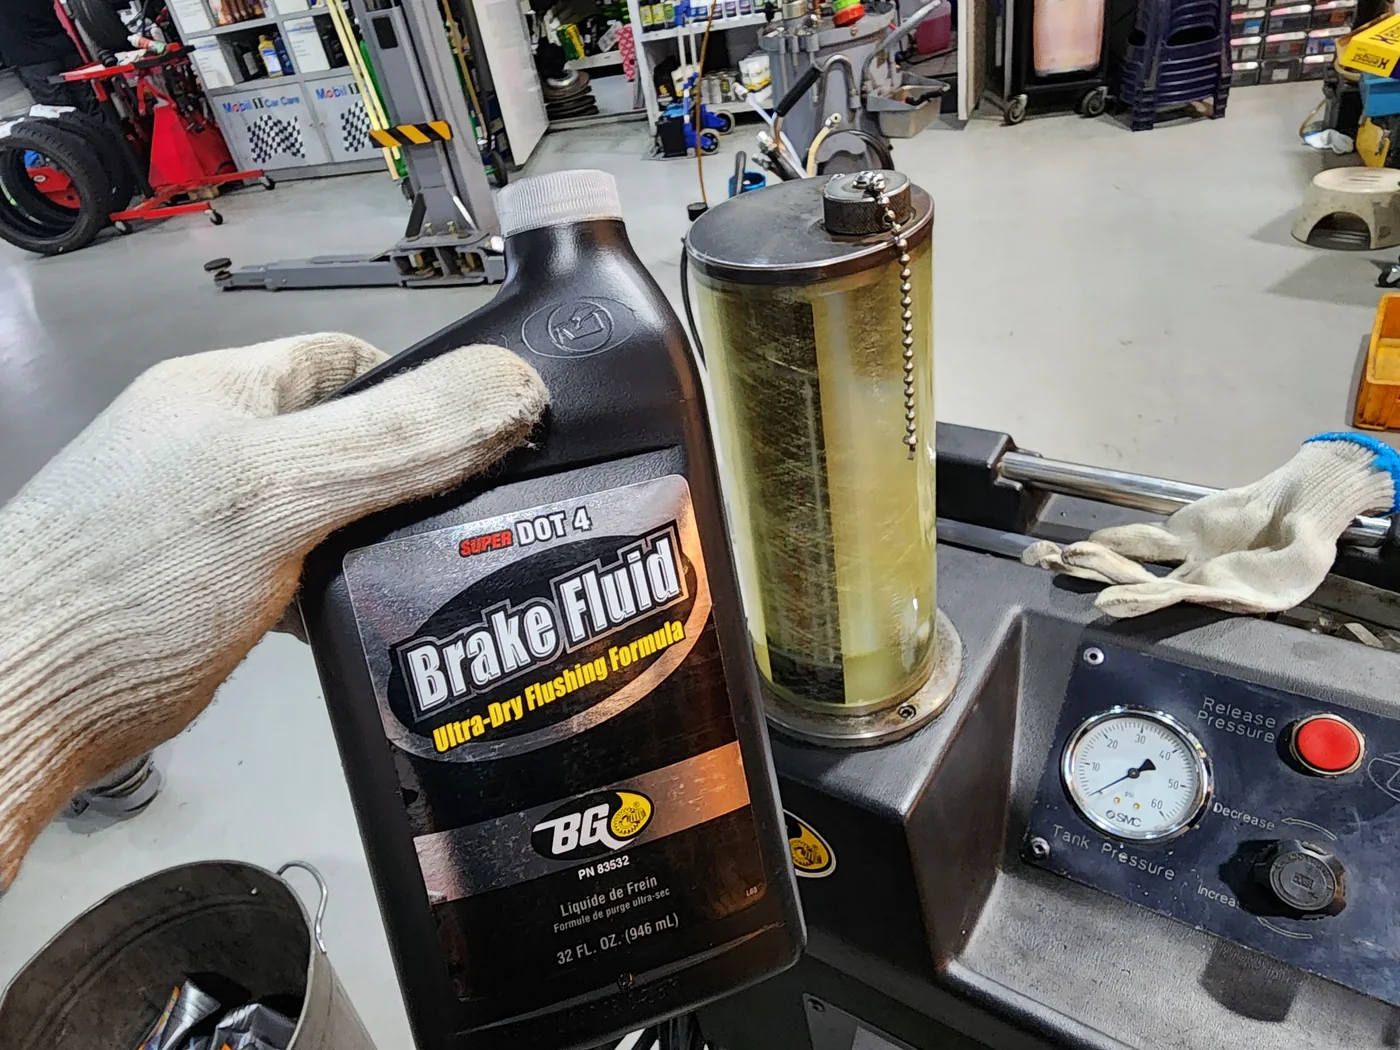
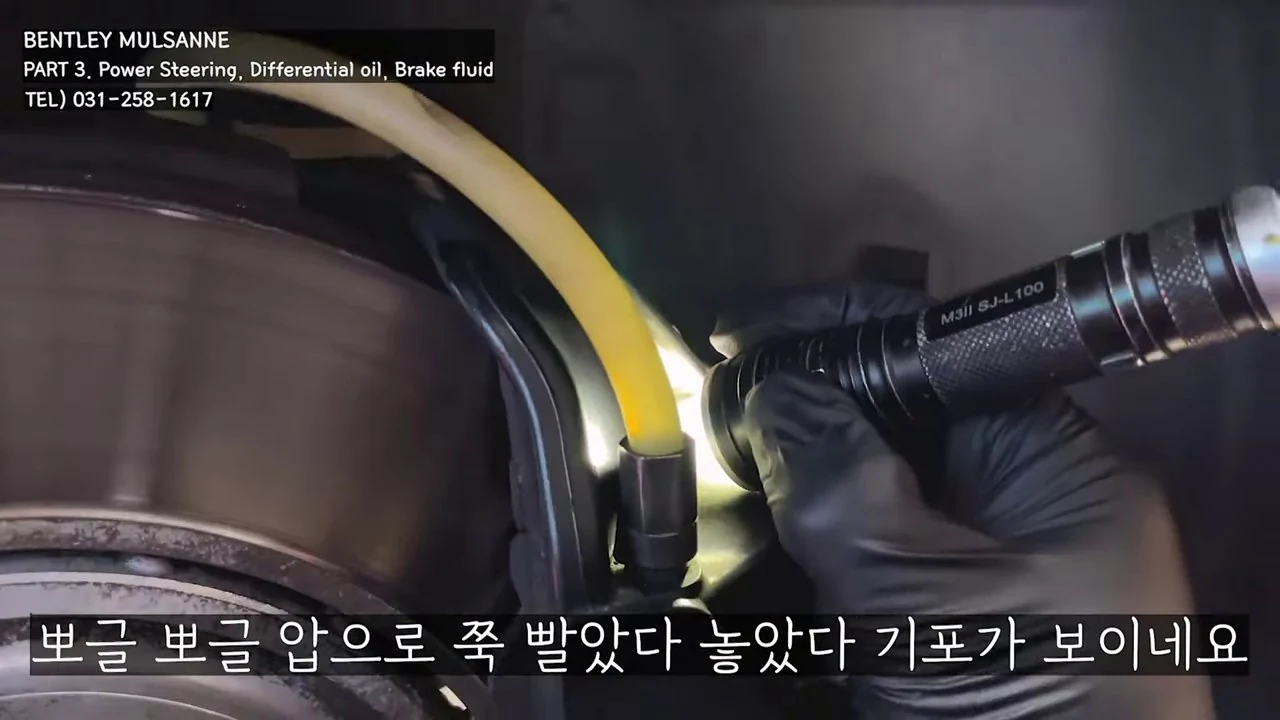
We used BG DOT4 brake fluid. The equipment supplied fresh fluid at the reservoir while old fluid was drawn out at the wheels. We watched the fluid and bubbles passing through the hose.
07
Rear differential oil
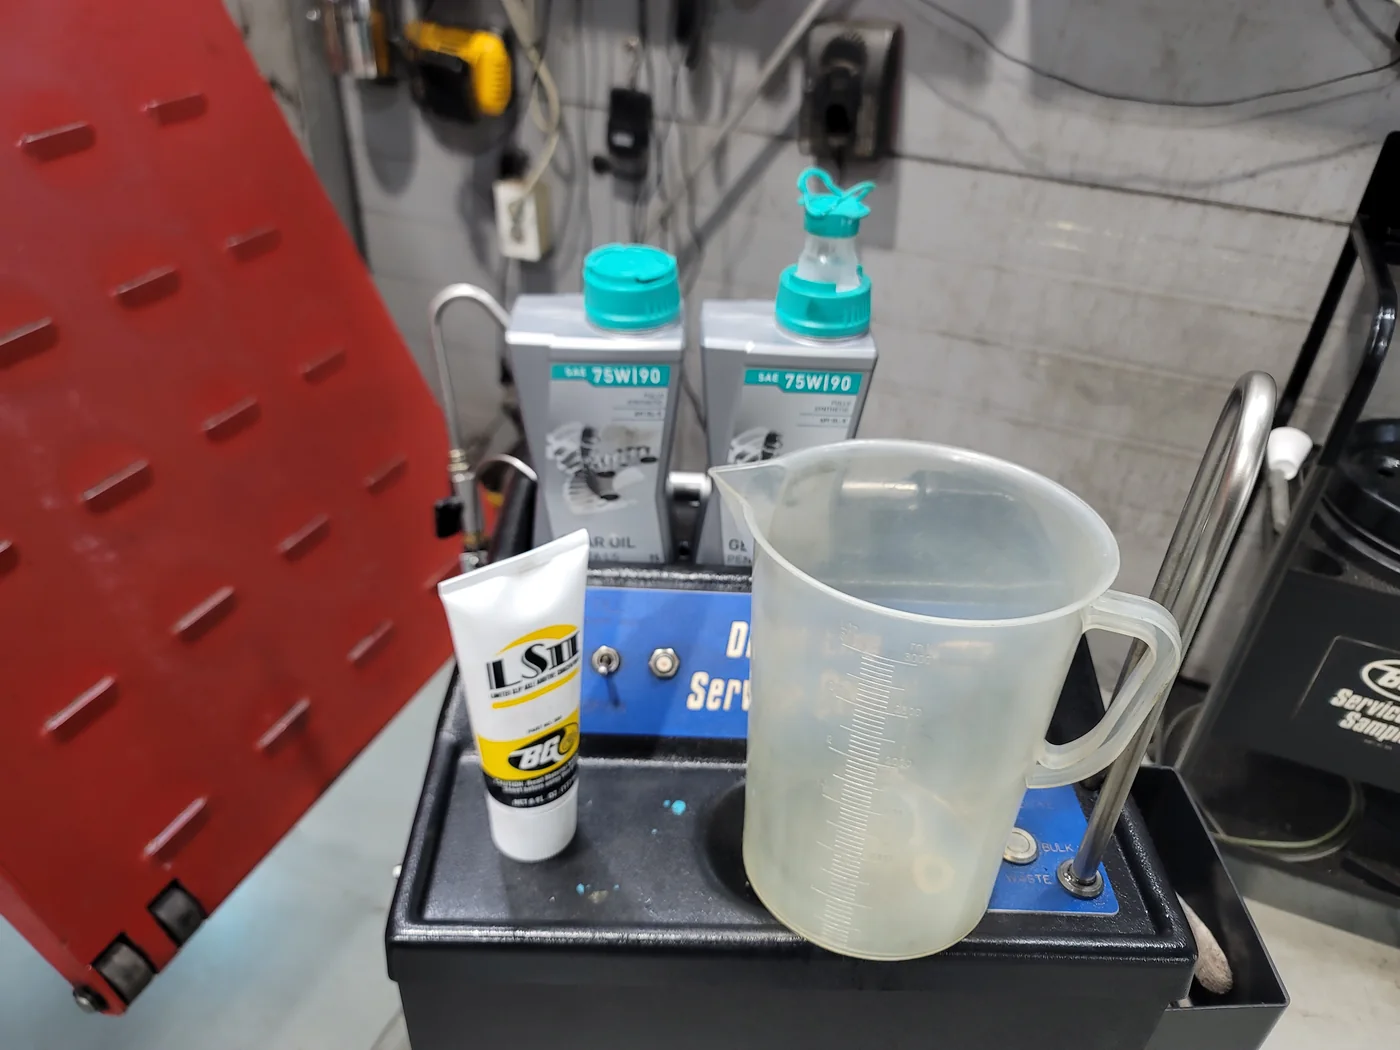
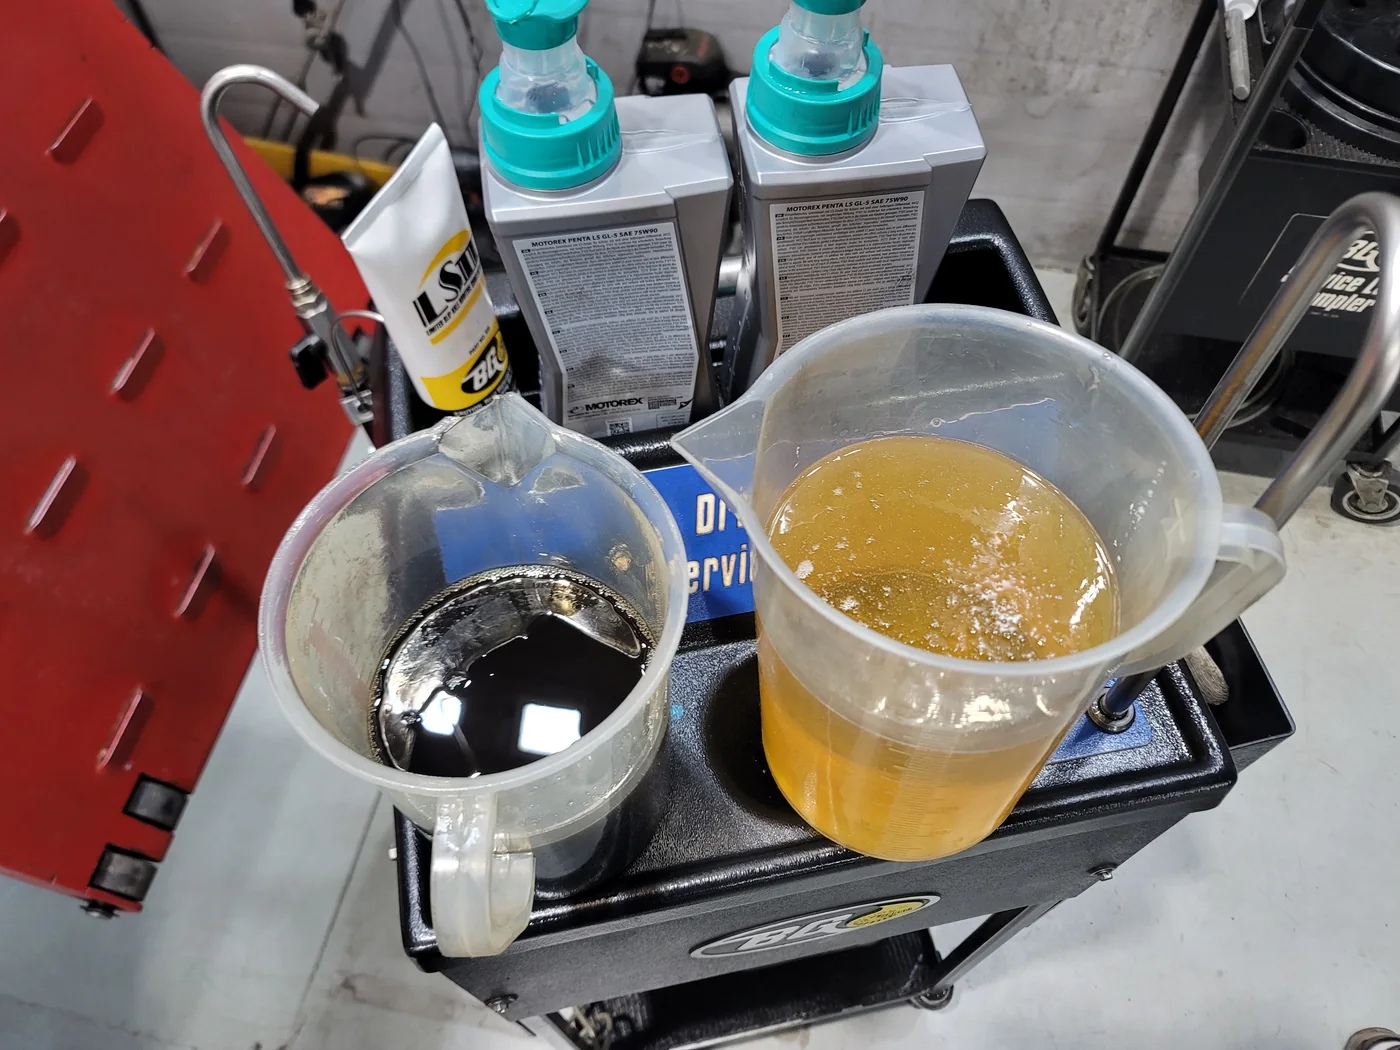
The old rear differential oil was collected for inspection and compared with fresh oil in separate containers. The refill used 75W90 gear oil with BG LSII additive.
The differential contains gears that transmit drive to the wheels. Its oil was inspected and serviced separately from the engine oil.
08
Alignment measurement and adjustment
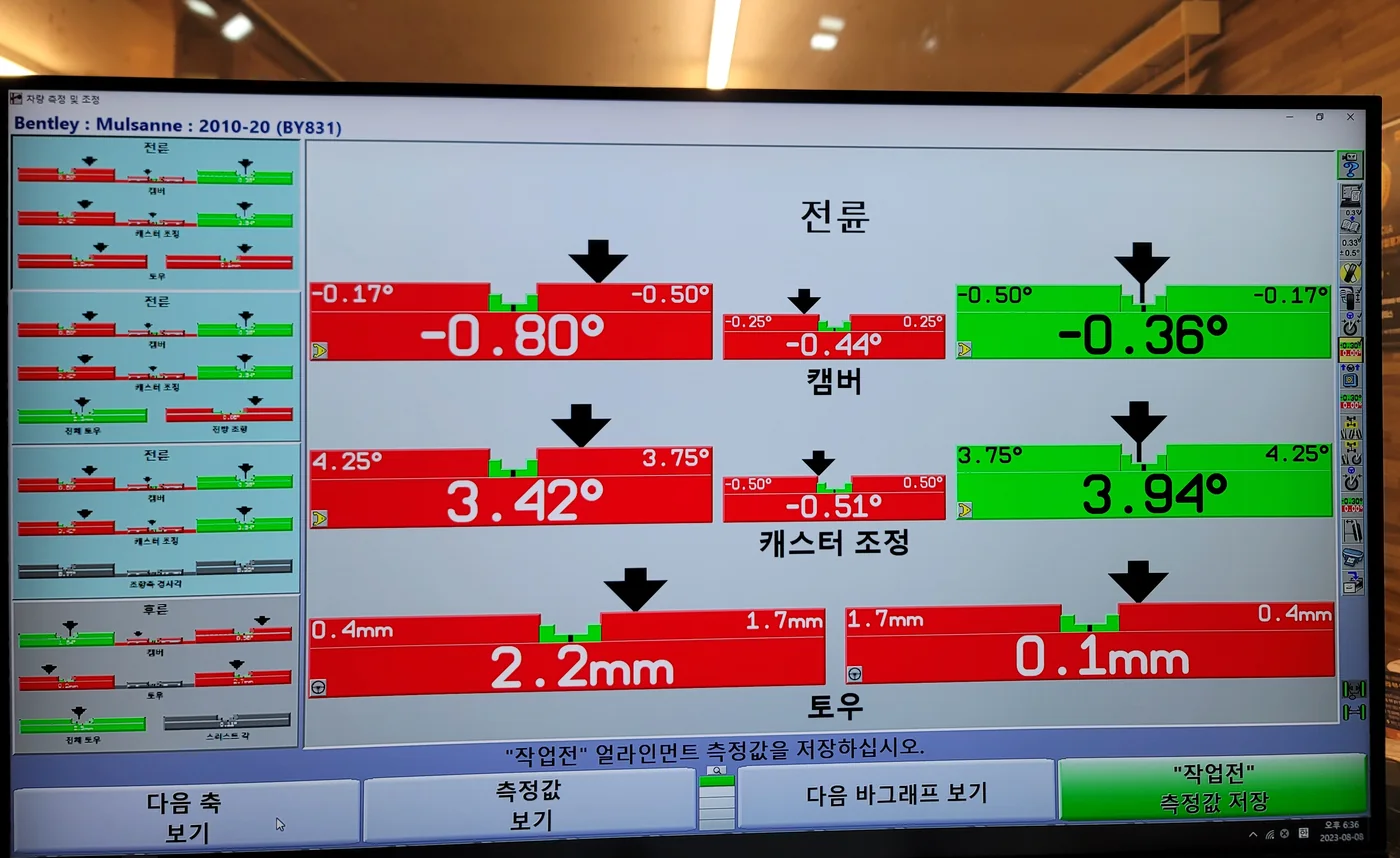
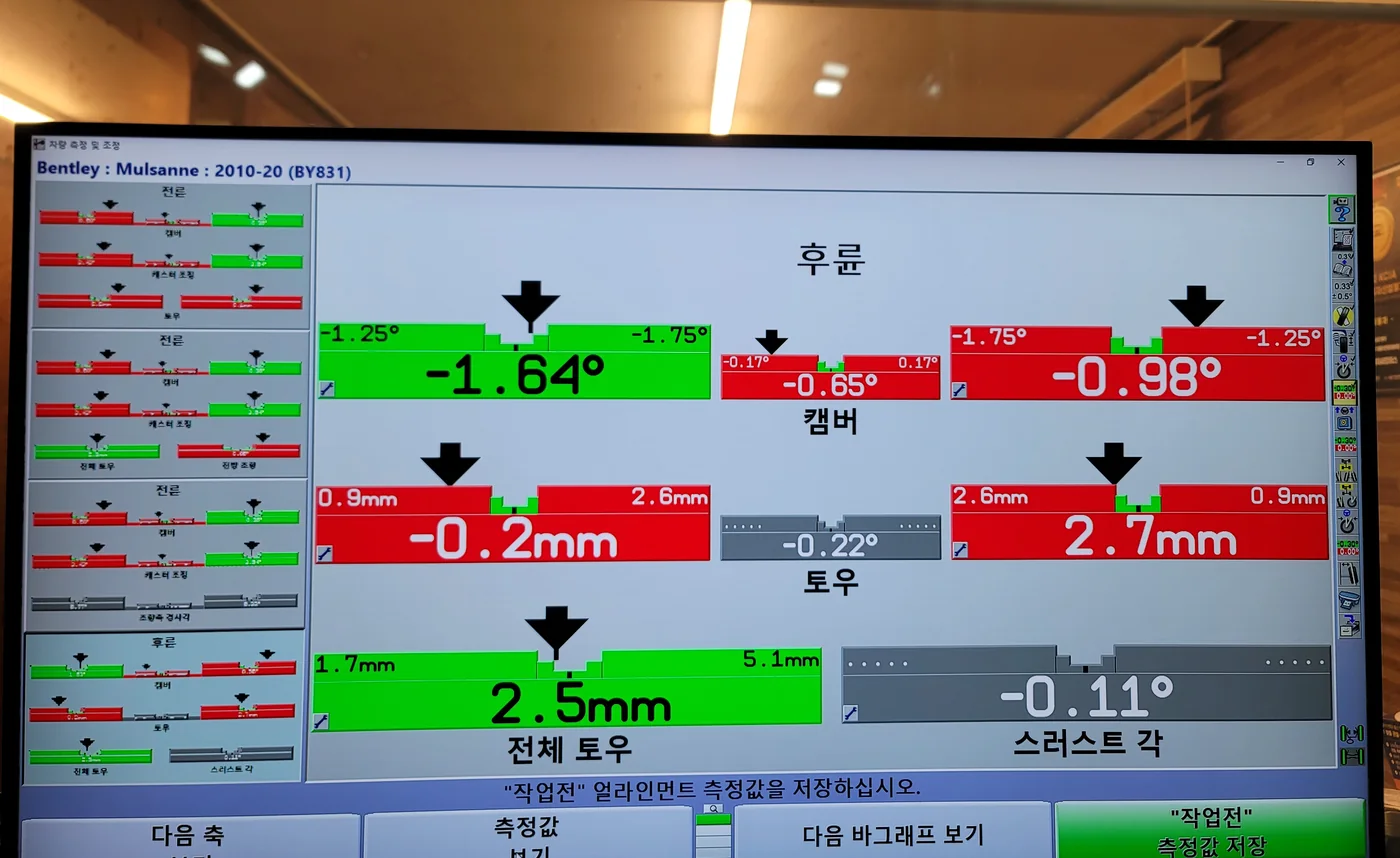
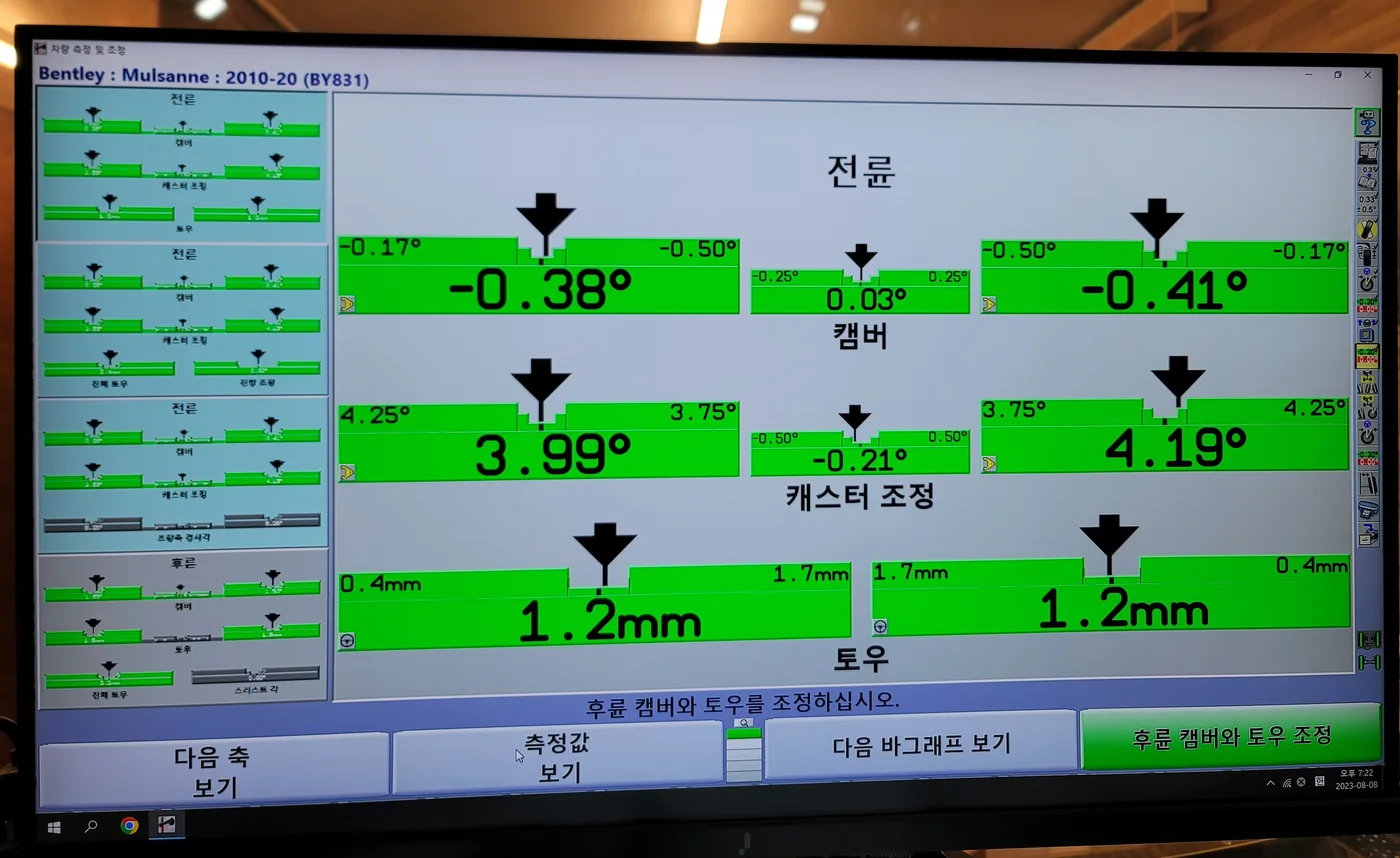
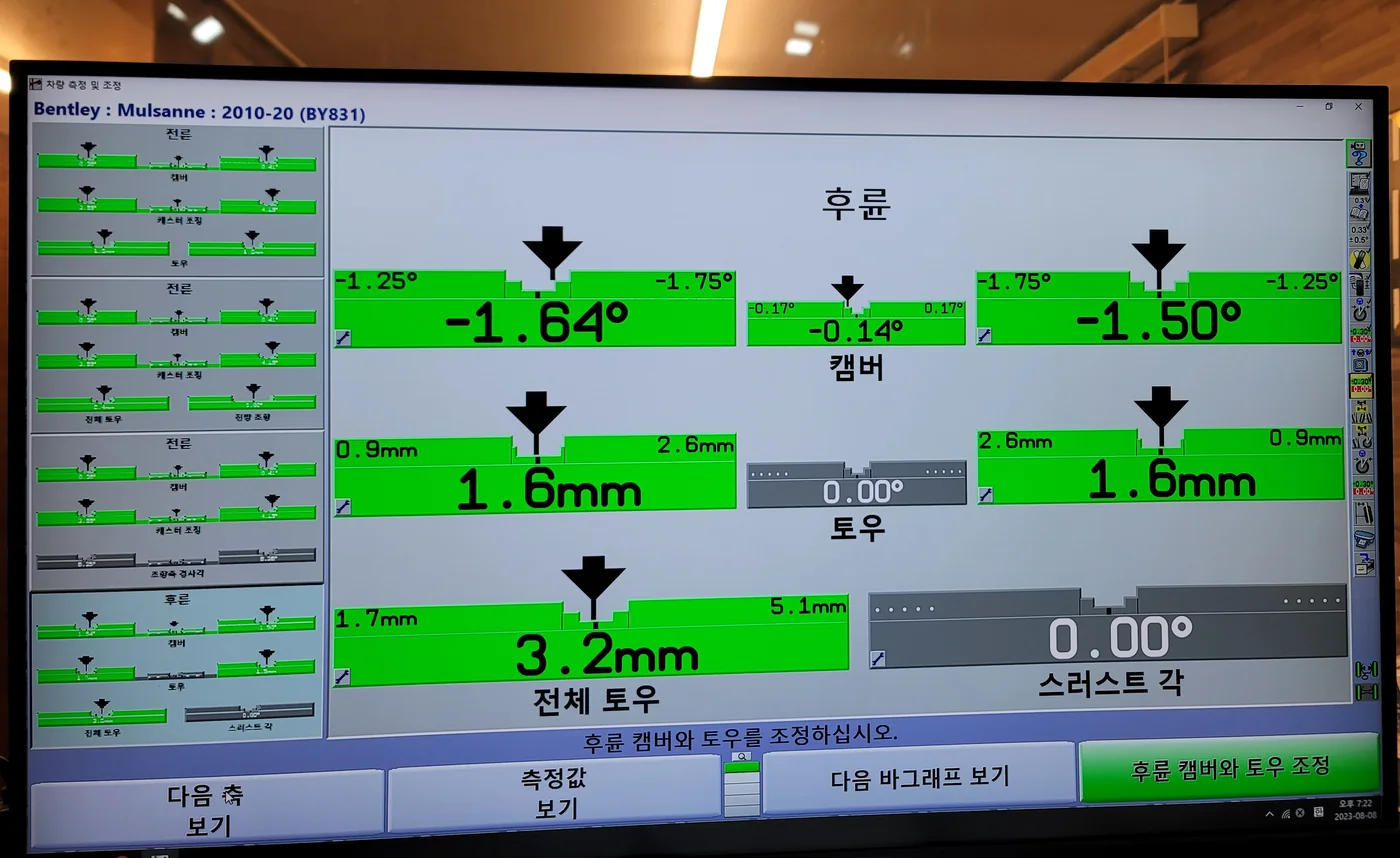
After tyre fitting and balancing, we adjusted the four-wheel alignment. Front toe changed from 2.2 mm on the left and 0.1 mm on the right to 1.2 mm per side. Rear toe changed from −0.2 mm on the left and 2.7 mm on the right to 1.6 mm per side.
Intermediate measurements and adjustments were repeated while checking front and rear camber and toe. Caster readings were recorded before and after, and rear thrust angle changed from −0.11° to 0.00°. Final front and rear toe and camber, together with front caster, were within the displayed reference ranges. The readings were checked before the road test.
Difference from the chosen final setting
Pale outline: setting after this adjustment
Before · difference from setting
Measured L/R difference · front 2.1 mm / rear 2.9 mm
After · final setting
Measured L/R difference · front 0.0 mm / rear 0.0 mm
| Measurement | Left before → after | Right before → after |
|---|---|---|
| Front toe | 2.2 → 1.2 mm | 0.1 → 1.2 mm |
| Rear toe | -0.2 → 1.6 mm | 2.7 → 1.6 mm |
| Front camber | -0.80 → -0.38 ° | -0.36 → -0.41 ° |
| Rear camber | -1.64 → -1.64 ° | -0.98 → -1.50 ° |
| Front caster · measured | 3.42 → 3.99 ° | 3.94 → 4.19 ° |
Toe is in mm; camber and caster are in degrees. Caster figures are readings before and after the work.
Original measurement screens · click to enlarge
09
Finishing up and the maintenance that follows
The engine bay and removed covers were cleaned, dried and reassembled. With the fluids, tyres, balancing and alignment work completed, we finished by checking the car on a road test.
The car returned for further maintenance in 2024, 2025 and 2026. We decide what work is needed by comparing the service history with the car’s condition when it arrives. The fluid samples and alignment readings also help with the next inspection.
Three videos from this first maintenance visit
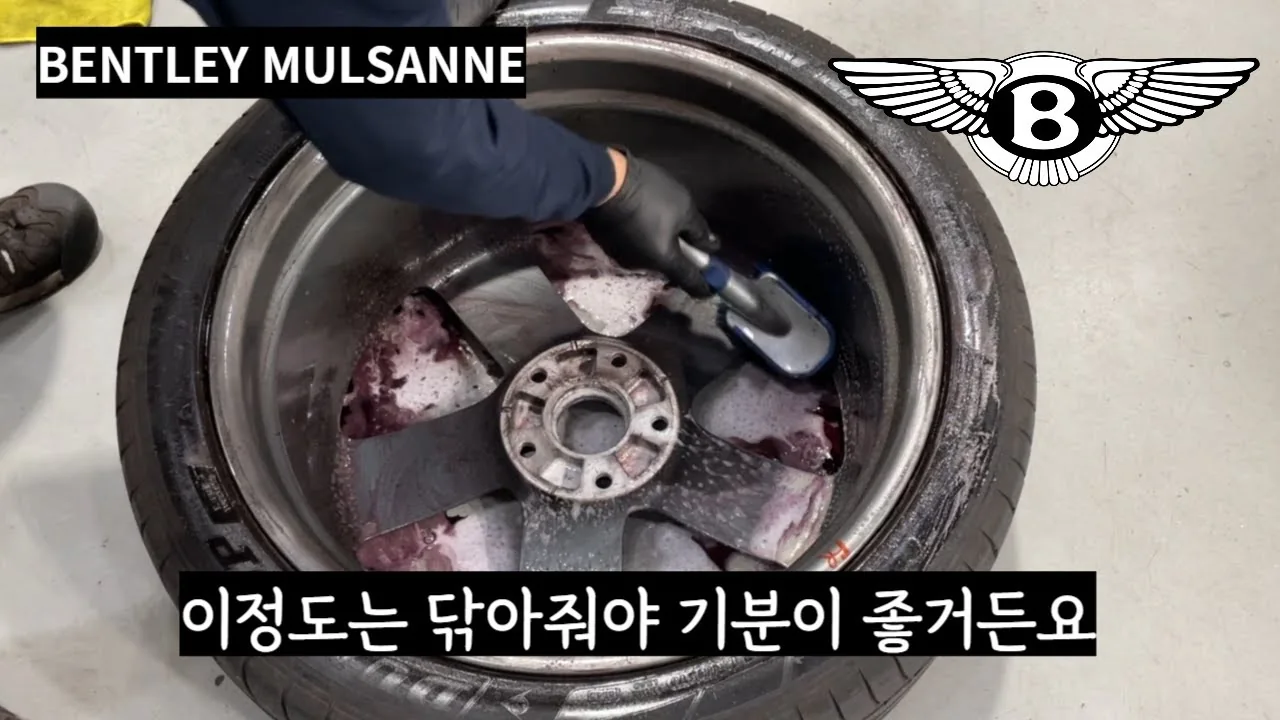 Wheel cleaning and tyre fitting, Hofmann balancing, alignment and road testEP.1 · Tyres, balancing and alignmentWatch on YouTube · 12:11 ↗
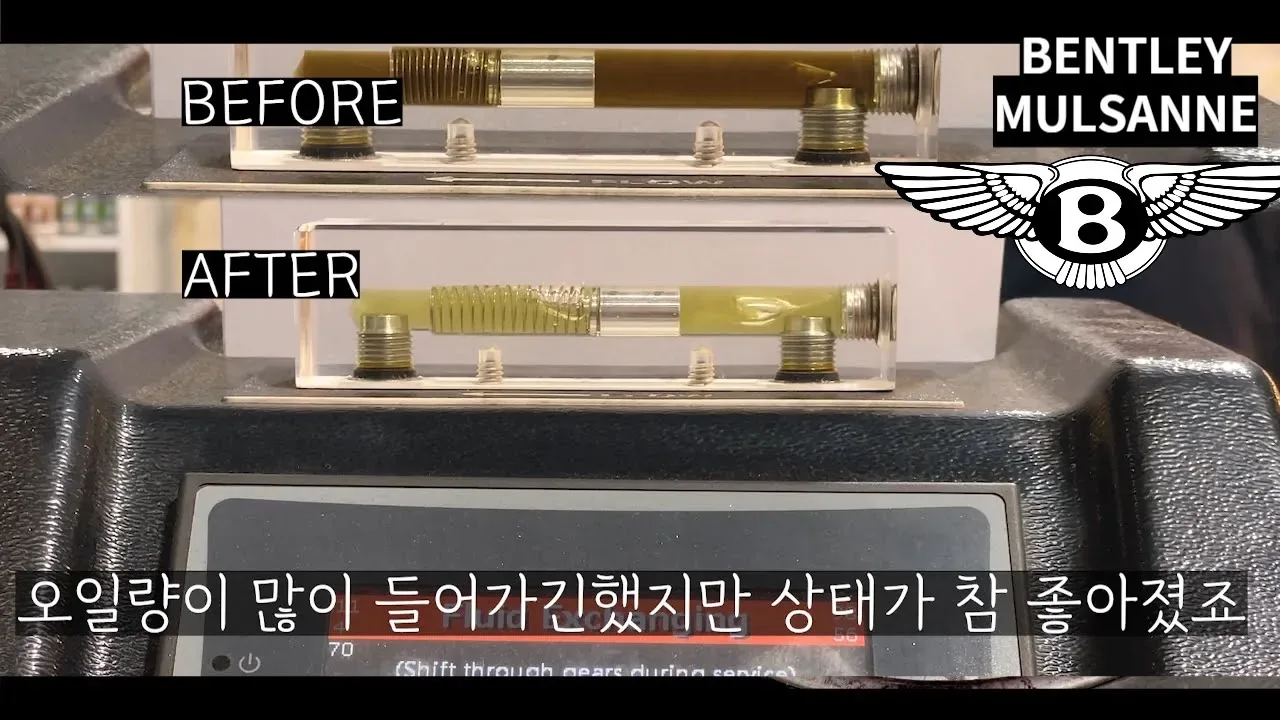 Draining the engine oil, replacing the filter and passing synthetic oil through the engine, followed by transmission fluid replacementEP.2 · Engine and transmission oilWatch on YouTube · 7:39 ↗
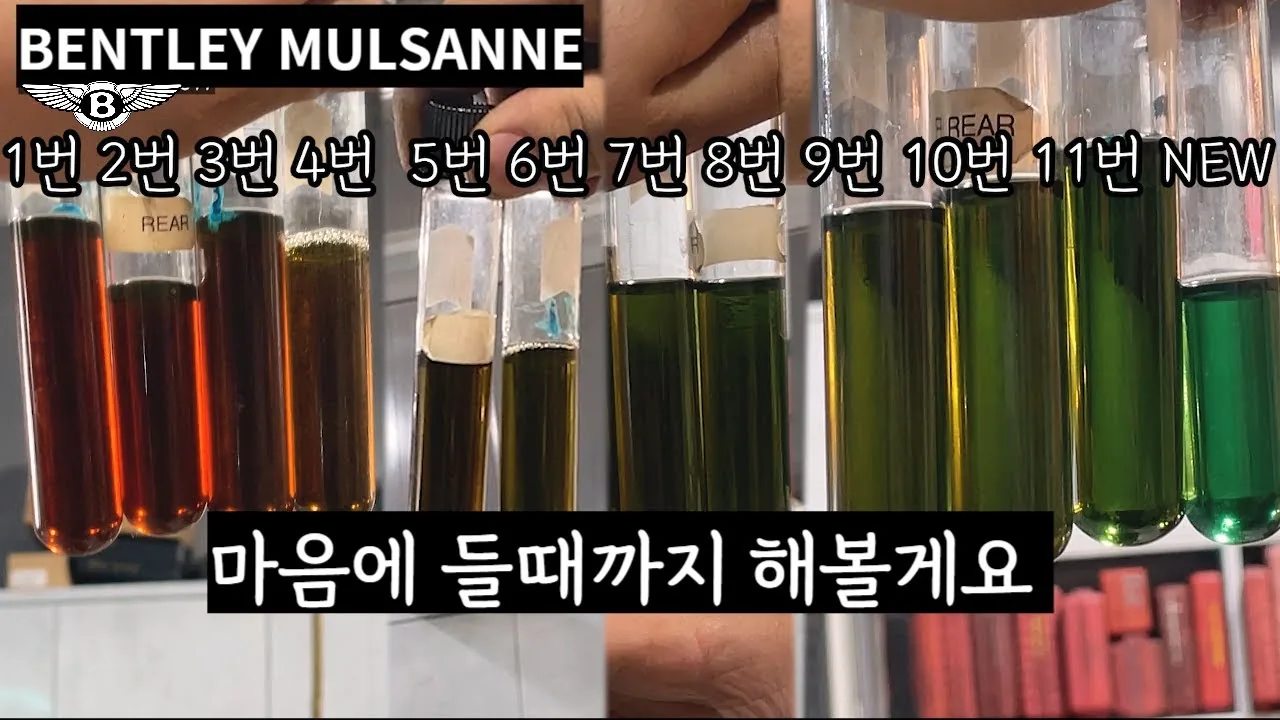 Eleven power steering fluid samples, brake fluid and rear differential oilEP.3 · Power steering, brake fluid and differential oilWatch on YouTube · 8:11 ↗
Mulsanne maintenance questions
Would you use the same oils in my car?
These products were used on this car in 2023. For your car, we select products to suit its specifications, service history and current condition.
Is exchanging the power steering oil 11 times required?
The number of exchanges depends on the car’s condition. We checked the drained fluid after each exchange and carried out 11 on this car.
Isn't fitting new tyres enough on its own?
After the tyres were fitted, balancing was done on Hofmann equipment and the alignment was measured and adjusted. Balancing deals with the weight balance of the rotating wheel and tyre, while alignment deals with wheel angles and left-right balance — they are separate jobs.
Can a car already in my possession be maintained this way?
Yes. We first check the driving history and current condition, then decide what work is needed.
NHC MOTORS · SUWON
Bring the same care to your own car
From Ferrari and Lamborghini to BMW, Mercedes-Benz and Korean cars, owners share the wish to have their cars looked after properly. We bring the same attention to your car that we apply to premium vehicles. We review how you use it and its service history, identify the checks it needs, then explain the work scope and estimate.
Call 031-258-1617Book on Naver524 Maesonggosaek-ro, Gwonseon-gu, Suwon · By appointment